
Introduction
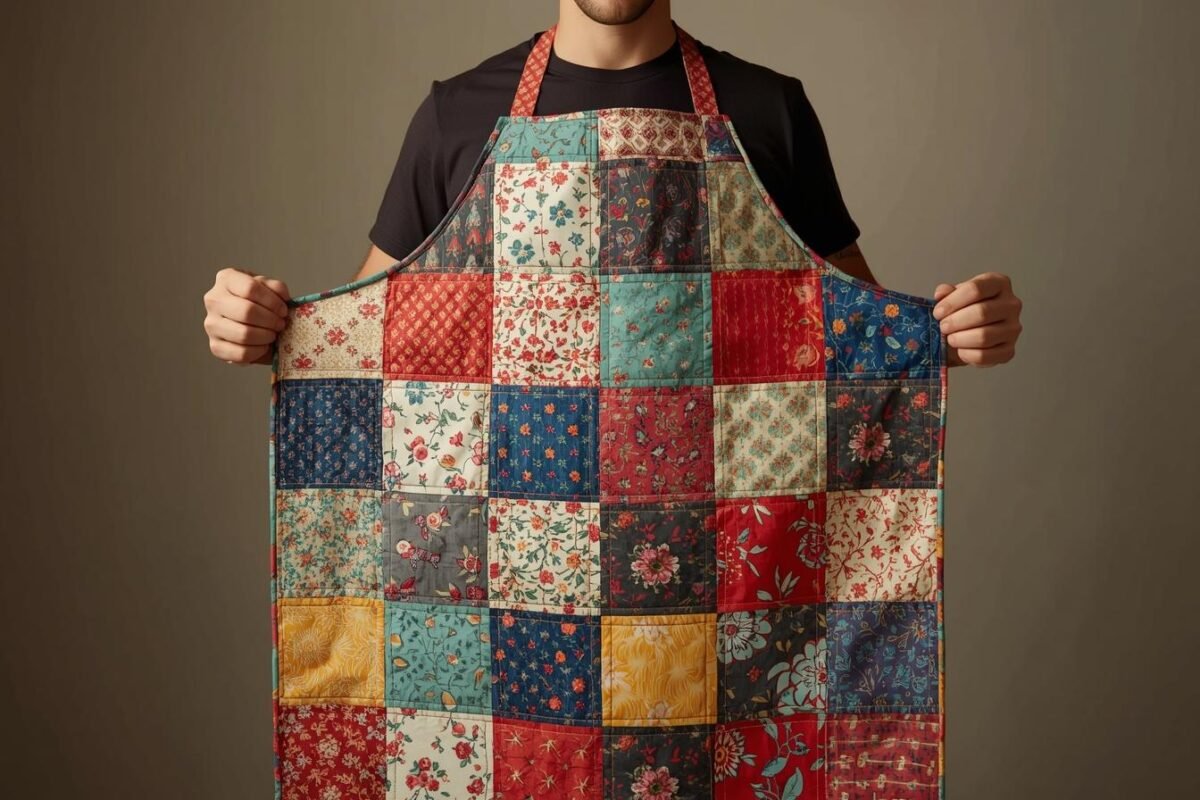
Patchwork is a timeless sewing technique that combines different fabric pieces into a cohesive and visually appealing design. For beginners, creating a patchwork kitchen apron is an excellent way to develop foundational sewing skills while exploring creativity through fabric combinations.
Unlike standard aprons, a patchwork apron offers a unique aesthetic, allowing you to mix colors, patterns, and textures. It is both functional and decorative, making it ideal for personal use, gifts, or even small business ventures.
This comprehensive guide will walk you through the entire process of making a patchwork kitchen apron, from selecting materials to final assembly. No prior experience is required—just patience, attention to detail, and a willingness to learn.
Materials and Tools Required
Before starting, ensure you have all the necessary tools and materials ready.
You will need:
- Assorted cotton fabric scraps (for patchwork)
- Solid fabric for lining (optional but recommended)
- Sewing thread (matching or neutral)
- Fabric scissors or rotary cutter
- Cutting mat (if using a rotary cutter)
- Measuring tape or quilting ruler
- Pins or clips
- Fabric marking tool
- Sewing machine (recommended)
- Iron
- Bias tape or fabric strips for straps
Cotton fabric is ideal for patchwork due to its stability and ease of handling. Try to select fabrics
with complementary colors to achieve a harmonious final desig

Step 1: Planning Your Patchwork Design
The first step is to decide how your patchwork will look.
For beginners, a simple grid layout is highly recommended. This involves sewing small squares or rectangles together to form a larger panel.
Example layout:
- Squares measuring 10 x 10 cm
- 3 columns by 6 rows (adjust as needed)
Lay out your fabric pieces on a flat surface and experiment with color placement. Aim for balance and visual harmony rather than randomness.
Planning your design before sewing will help avoid mistakes and ensure a polished result.
Step 2: Cutting the Fabric Pieces
Once your layout is finalized, begin cutting your fabric pieces.
Tips for accurate cutting:
- Use a ruler for precise measurements
- Cut all pieces to the same size
- Maintain straight edges
If using a rotary cutter, work on a cutting mat for safety and accuracy.
Consistency is essential in patchwork. Even small variations can affect the alignment of your final piece.
Step 3: Sewing the Patchwork Panel
Now it is time to assemble your patchwork.
- Start by sewing squares together in rows.
- Place two pieces right sides together.
- Sew along one edge using a 1 cm seam allowance.
- Continue adding pieces until each row is complete.
Next:
- Join the rows together in the same way
- Align seams carefully for a clean look
Press each seam open with an iron after sewing. This step is crucial for achieving a flat and professional finish.
Step 4: Creating the Apron Base
Once your patchwork panel is complete, it will serve as the main body of your apron.
Cut the panel into your desired apron shape. A standard size is:
- Height: 70–80 cm
- Width: 60 cm
If needed, trim the edges to create straight lines and uniform dimensions.
Optional:
Add a lining fabric behind the patchwork panel for extra durability and a cleaner interior finish.
Step 5: Finishing the Edges
To prevent fraying and improve durability, finish all edges of the apron.
There are two common methods:
Folded Hem:
- Fold edges inward twice (about 1 cm each fold)
- Press with an iron
- Sew along the edge
Bias Tape Finish:
- Attach bias tape along the edges
- Sew carefully to secure
Bias tape is often preferred for patchwork projects because it provides a neat and decorative edge.
Step 6: Shaping the Apron
For a more refined design, shape the top portion of the apron.
Cut gentle curves along the upper sides to create space for arm movement. This step enhances comfort and gives the apron a more professional appearance.
Ensure both sides are symmetrical for a balanced look.
Step 7: Making and Attaching the Straps
Straps are essential for functionality and comfort.
Neck Strap:
- Cut a strip of fabric (approx. 60 cm)
- Fold edges inward and press
- Fold again and sew along the length
- Attach to the top corners of the apron
Waist Ties:
- Cut two strips (approx. 70 cm each)
- Repeat the same folding and sewing process
- Attach to each side of the apron
Reinforce the stitching at attachment points to ensure durability.
Step 8: Adding a Patchwork Pocket (Optional)
A pocket is both practical and visually appealing.
To create a patchwork pocket:
- Use smaller fabric pieces to match the main design
- Assemble using the same patchwork method
- Finish the edges
- Position the pocket on the front of the apron
- Sew along the sides and bottom
You may divide the pocket into sections for added functionality.
Step 9: Final Assembly and Finishing
At this stage, your apron is almost complete.
Perform the following checks:
- Trim loose threads
- Ensure all seams are secure
- Press the entire apron with an iron
A well-pressed apron enhances the overall presentation and highlights the patchwork design.
Design Tips for a Professional Look
To elevate your apron, consider the following:
- Use a consistent color palette
- Alternate patterns for visual interest
- Align seams carefully
- Press frequently during the process
- Avoid overly bulky fabric combinations
Attention to detail is key in patchwork projects.
Common Mistakes to Avoid
Beginners often encounter the following issues:
- Inconsistent fabric sizes
- Misaligned seams
- Skipping the pressing step
- Using fabrics that stretch or fray easily
- Rushing through the sewing process
Taking your time and maintaining precision will significantly improve your results.
Turning Your Patchwork Apron into a Product
Patchwork aprons are highly valued for their handmade appeal.
You can sell them through:
- Online platforms
- Social media marketplaces
- Craft fairs
To increase value:
- Offer custom color combinations
- Personalize with names or initials
- Create themed collections
A well-crafted patchwork apron can command a higher price due to its uniqueness and craftsmanship.
Conclusion
Creating a patchwork kitchen apron is an ideal project for beginners who want to explore both creativity and practical sewing skills. It introduces essential techniques such as fabric cutting, seam alignment, and finishing, while allowing for artistic expression.
With patience and practice, you can transform simple fabric scraps into a beautiful and functional piece. As your skills improve, you will be able to experiment with more complex designs and expand your sewing projects.