
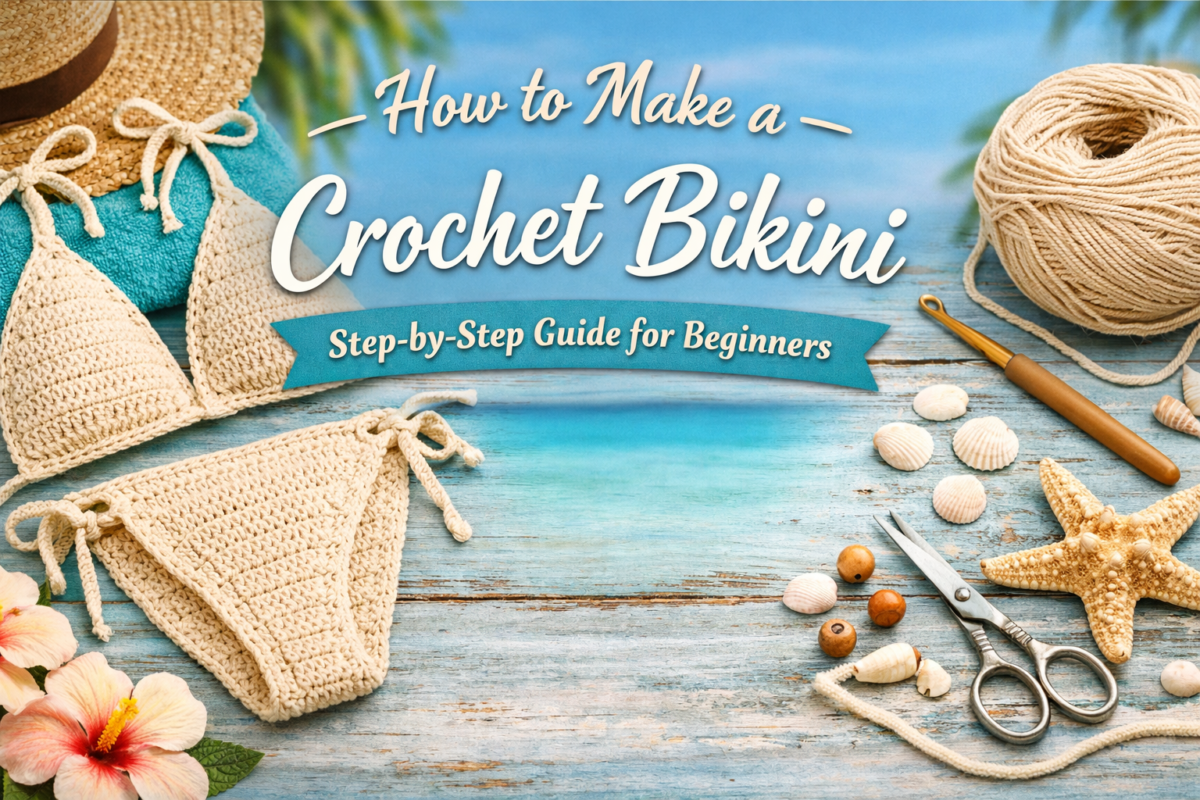
Crochet bikinis are timeless, stylish, and highly valued handmade pieces. They combine creativity, fashion, and craftsmanship, making them perfect for personal use or as a profitable handmade product. Even if you are a beginner, you can create a stunning crochet bikini by following the right steps and using beginner-friendly techniques.
This complete guide will teach you how to make a beautiful crochet bikini step by step, using simple stitches, clear instructions, and practical tips. No advanced crochet skills are required — just patience and attention to detail.
Is a Crochet Bikini Beginner-Friendly?
Yes, absolutely. A crochet bikini is one of the best beginner fashion projects because:
- It uses basic crochet stitches
- The project is small and manageable
- You can easily adjust the size
- Mistakes are easy to fix
The key is to work slowly and follow each step carefully.
Materials Needed to Make a Crochet Bikini
Before starting, gather all materials. Using the right supplies is essential for comfort, durability, and a professional finish.
Recommended Materials
- Cotton yarn or beachwear yarn (with elasticity if possible)
- Crochet hook (2.5 mm to 3.5 mm, depending on yarn)
- Scissors
- Tapestry needle
- Measuring tape
- Stitch markers (optional)
- Swimwear lining fabric (highly recommended)
- Thin elastic thread (optional)
Beginner Tip
Choose mercerized cotton yarn or yarn designed for swimwear. These yarns hold shape better and resist stretching when wet.
Crochet Stitches Used in This Bikini
This tutorial uses only basic stitches:
- Chain stitch (ch)
- Single crochet (sc)
- Double crochet (dc)
- Slip stitch (sl st)
If you know these stitches, you are ready to start.
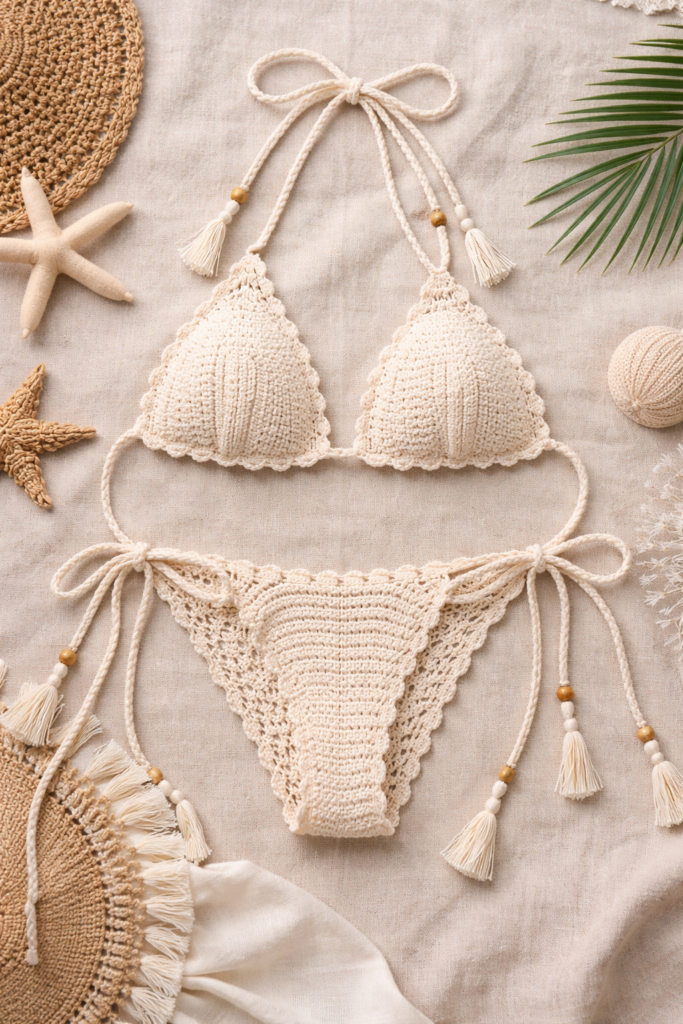
PART 1: HOW TO MAKE THE CROCHET BIKINI TOP
The bikini top is made using two triangle cups, which are then joined with straps.
Step 1: Starting the Triangle Cup
- Create a foundation chain of 15 chains (adjust for size).
- Chain 3 (this counts as the first double crochet).
- Work double crochet stitches across the chain.
- In the last chain, make 3 double crochets in the same stitch to form the triangle point.
- Continue crocheting double crochets on the opposite side of the foundation chain.
This creates the base triangle shape.
Step 2: Increasing the Triangle Cup
- Turn your work.
- Chain 3.
- Crochet double crochets across the row.
- At the center point (the triangle tip), make 3 double crochets in the same stitch.
- Continue on the other side.
- Turn and repeat.
Repeat these rows until the cup reaches the desired size.
Size Guide (Approximate)
- Small: 6–7 rows
- Medium: 8–9 rows
- Large: 10–11 rows
Always measure against the body or a bikini top for accuracy.
Step 3: Finishing the Cup
- Crochet a round of single crochet stitches around the entire cup for stability.
- Fasten off and weave in all ends neatly.
👉 Repeat the same steps to create the second cup.
Step 4: Making the Straps and Ties
Neck Straps
- Attach yarn to the top corner of the cup.
- Chain 120–150 chains, depending on preference.
- Fasten off securely.
Back Ties
- Attach yarn to the side of the cup.
- Chain 90–120 chains.
- Repeat on the other cup.
Make sure straps are firm and well-secured to avoid stretching.
PART 2: HOW TO MAKE THE CROCHET BIKINI BOTTOM
The bikini bottom is worked from the center outward and shaped using increases and decreases.
Step 1: Foundation Chain
- Chain 20 chains (adjust for body size).
- Single crochet across the chain.
- Chain 1 and turn.
This creates the center base of the bikini bottom.
Step 2: Front Shaping
- Crochet single crochet stitches across.
- At each end, add one increase stitch.
- Continue increasing on both sides every row.
- Keep measuring against your body.
Stop increasing when the front coverage feels comfortable.
Step 3: Middle Section
- Crochet several rows without increases or decreases.
- This creates the crotch area.
- Usually 4–6 rows is enough.
Step 4: Back Shaping
- Begin decreasing one stitch at each end.
- Continue decreasing every row.
- Stop when the back coverage is complete.
This shapes the bikini bottom naturally.
Step 5: Side Straps
You can choose:
- Tie sides (chains)
- Wide crochet sides (rows of stitches)
Tie Sides Method
- Attach yarn to the side.
- Chain 80–100 chains.
- Fasten off securely.
- Repeat on the other side.
Step 6: Edging and Elastic (Optional)
- Crochet single crochet around all edges.
- If desired, insert thin elastic while crocheting to improve fit.
- Do not pull elastic too tight.
Lining the Crochet Bikini (Highly Recommended)
Crochet bikinis should be lined for:
- Comfort
- Coverage
- Durability
How to Add Lining
- Cut lining fabric slightly smaller than the crochet piece.
- Hand-sew using small stitches.
- Secure edges carefully.
Beginner Tips for a Perfect Crochet Bikini
- Always make a tension swatch
- Avoid loose stitches
- Measure frequently
- Reinforce straps
- Test fit before finishing
Common Beginner Mistakes to Avoid
- Using the wrong yarn
- Skipping measurements
- Making straps too thin
- Not lining the bikini
- Pulling stitches too tight
Mistakes are part of learning — don’t give up.
Can You Sell Crochet Bikinis?
Yes, and they sell very well.
Crochet bikinis are popular because they are:
- Handmade
- Unique
- Custom-sized
- Trendy
You can sell them on:
- Etsy
- Shopee
- Handmade marketplaces
- Your own online store
How Long Does It Take to Make a Crochet Bikini?
For beginners:
- Bikini top: 2–3 hours
- Bikini bottom: 3–4 hours
With practice, it becomes much faster.
Final Thoughts
Learning how to make a crochet bikini step by step is an exciting journey into wearable crochet. With simple stitches, proper materials, and patience, you can create a beautiful, comfortable, and stylish bikini — even as a beginner.
Take your time, enjoy the process, and be proud of your handmade creati