

The Log Cabin quilt block is one of the most recognizable and beloved quilt blocks in quilting history. With its strong visual impact and simple construction, it has remained popular for generations — from traditional heirloom quilts to modern, minimalist designs.
For beginners, the Log Cabin block is an excellent learning tool. It teaches essential quilting skills while offering endless creative flexibility. In this guide, you’ll learn what a Log Cabin quilt block is, how to make one step by step, and explore the most popular Log Cabin variations used by quilters today.
What Is a Log Cabin Quilt Block?
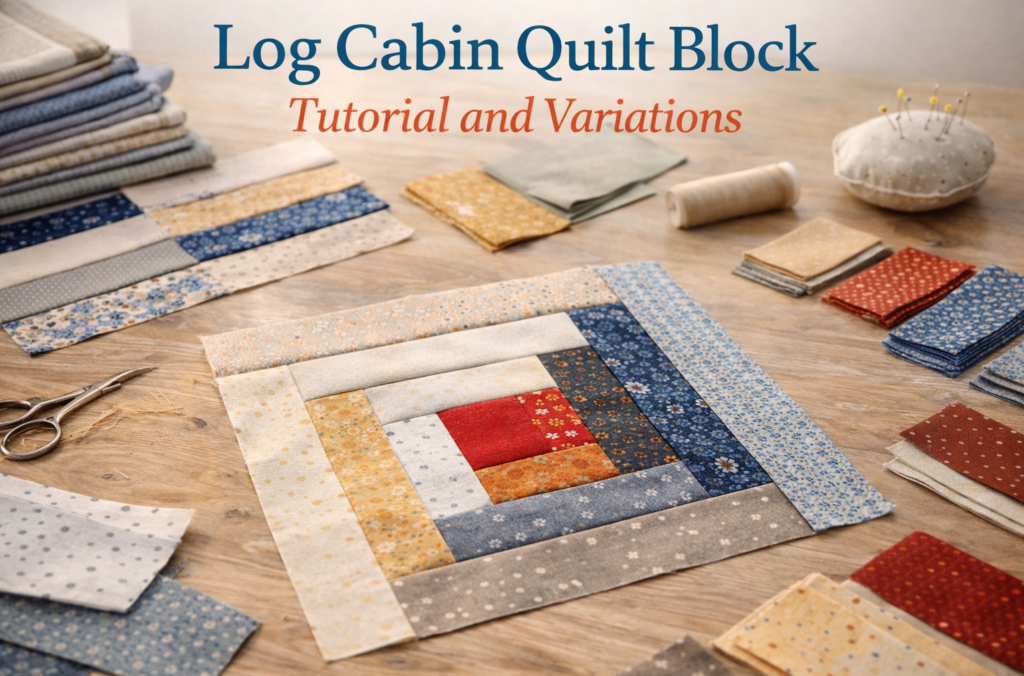
The Log Cabin quilt block is built around a center square, traditionally called the hearth. From this center, fabric strips — known as logs — are sewn around the square in a spiral or structured pattern.
Historically:
- The center square often represented the hearth of a home
- Red was traditionally used to symbolize warmth and family
- Light and dark fabrics symbolized day and night
While these traditions are still honored, modern quilters freely adapt the block using any color scheme or fabric style.
Why the Log Cabin Block Is Perfect for Beginners
The Log Cabin block is widely recommended for beginners because it focuses on fundamental skills without overwhelming complexity.
Beginner-Friendly Benefits
- Only straight seams
- Repetitive steps that build confidence
- Excellent practice for accurate ¼-inch seam allowance
- Encourages good pressing habits
- Small mistakes are easy to hide
Once you learn how to construct one Log Cabin block, you can apply the same method to many other quilt designs.
Understanding the Structure of a Log Cabin Block
Before sewing, it’s helpful to understand how the block is constructed.
A basic Log Cabin block consists of:
- 1 center square
- 4 to 20 fabric strips (logs), depending on size
- Logs added one at a time around the center
Each log increases the block’s size evenly, which helps maintain symmetry and balance.
Log Cabin Quilt Block Tutorial (Step by Step)
This tutorial explains the classic spiral Log Cabin block, which is the most common and beginner-friendly version.
Step 1: Choose and Cut the Center Square
The center square sets the tone for the entire block.
Common center square sizes:
- 2.5 inches (finished 2 inches)
- 3 inches
- 4 inches
Beginner Tip:
Choose a fabric that stands out. Many quilters use red for tradition, but any bold or meaningful fabric works well.
Step 2: Select and Cut Fabric Strips (Logs)
Logs are fabric strips sewn around the center square.
Recommended strip widths for beginners:
- 2 inches (finishes at 1.5 inches)
- 2.5 inches (finishes at 2 inches)
Cut all strips the same width to keep the block balanced.
You’ll typically want:
- Light fabrics for one side
- Dark fabrics for the opposite side
This contrast creates the classic Log Cabin look.
Step 3: Sew the First Log
Place the first log right sides together with one side of the center square.
- Sew using a ¼-inch seam allowance
- Press the seam outward, away from the center
Pressing after every seam is essential for clean results.
Step 4: Continue Adding Logs in a Spiral
Rotate the block and add the next log to the adjacent side.
Repeat this sequence:
- Sew the strip
- Press the seam
- Trim excess fabric
- Rotate the block
Always add logs in the same direction to maintain the spiral pattern.
Step 5: Square Up the Block
Once all logs are added:
- Trim the edges evenly
- Square the block to the desired size
Squaring ensures that all blocks fit together properly when assembling the quilt top.
Pressing Tips for Log Cabin Quilt Blocks
Pressing is just as important as sewing.
Best Pressing Practices
- Press after every strip
- Use a hot iron suitable for cotton
- Press seams away from the center
- Avoid stretching the fabric
Consistent pressing prevents warping and helps maintain accurate block size.
Popular Log Cabin Quilt Block Variations
One of the biggest advantages of the Log Cabin block is its versatility. Small changes in construction or layout create dramatically different designs.
1. Traditional Log Cabin
This is the classic version most quilters recognize.
Features:
- Clear light and dark contrast
- Logs added in a spiral
- Strong visual movement
This variation is excellent for learning fabric contrast and layout planning.
2. Courthouse Steps
In the Courthouse Steps variation, logs are added in pairs on opposite sides instead of spiraling.
Why beginners love it:
- Symmetrical design
- Easy to plan
- Clean, balanced appearance
This style creates a more structured and modern look.
3. Scrappy Log Cabin
Scrappy Log Cabin blocks use many different fabrics instead of a coordinated set.
Perfect for:
- Fabric scraps
- Relaxed, creative quilts
- Hiding small inaccuracies
Scrappy quilts are forgiving and visually rich, making them ideal for beginners.
4. Pineapple Log Cabin
This variation uses angled or pieced strips instead of straight rectangles.
Note for beginners:
Pineapple blocks are best attempted after mastering the basic Log Cabin construction.
5. Modern Log Cabin
Modern Log Cabin quilts often feature:
- Solid fabrics
- Minimal contrast
- Asymmetrical layouts
- Negative space
These quilts are popular in modern quilting communities and look striking with simple color palettes.
Layout Ideas for Log Cabin Quilts
The way you arrange your Log Cabin blocks can completely transform the quilt.
Common Layout Styles
- Straight set
- Barn raising
- Diamond layout
- Chevron or zigzag patterns
Rotating blocks in different directions creates dynamic designs, even when using identical blocks.
Fabric Selection Tips for Beginners
Choosing the right fabric makes Log Cabin quilting much easier.
Fabric Recommendations
- Use 100% cotton quilting fabric
- Choose clear light and dark values
- Avoid slippery or stretchy fabric
- Pre-wash if shrinkage is a concern
Pre-cut strips can save time and improve accuracy.
Common Beginner Mistakes (and How to Avoid Them)
Mistake 1: Uneven Strip Widths
➡ Cut carefully and measure twice.
Mistake 2: Skipping Pressing
➡ Press every seam before adding the next log.
Mistake 3: Poor Contrast
➡ Lay fabrics out before sewing to check value differences.
Mistake 4: Not Squaring the Block
➡ Always square up before assembling the quilt.
Projects You Can Make with Log Cabin Blocks
Log Cabin blocks are extremely versatile and work well for many projects:
- Baby quilts
- Lap quilts
- Bed quilts
- Table runners
- Wall hangings
You can easily adjust block size and layout to fit any project.
Why the Log Cabin Block Never Goes Out of Style
The Log Cabin block has survived centuries of quilting trends because it combines:
- Simplicity
- Strong visual design
- Symbolic meaning
- Endless adaptability
It works equally well in traditional, modern, and scrappy quilts.
Final Thoughts
The Log Cabin quilt block is one of the best blocks for beginners to learn. Its straightforward construction builds essential quilting skills while offering endless creative opportunities.
By mastering the basic Log Cabin block, you gain the confidence to explore variations, layouts, and personal design choices. Whether you prefer traditional styles or modern interpretations, the Log Cabin block remains a timeless and rewarding quilting technique.
This classic block proves that simple methods can create truly powerful designs.